Posts

Add Numbered Post Navigation Bar In Your Blogger

Image
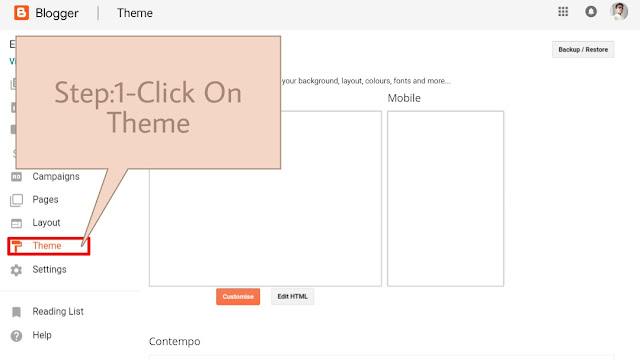
Are you bored from your older post navigation bar which only shows you the option for older post and newer post. Don't worry, I have a solution, a new very beutiful numbered post navigation is here for you. Now make your blog more beutiful than before by adding this numbered post navigation in your blog. To Add The Post Navigation Bar In Your Blogger, Follow The Given Steps Below:- Step:1-Click On Theme Read This:-  How To Remove "POWERED BY BLOGGER" In Blogger Step:2-Click On "Edit HTML" Step:3-Search "</body>" tag Step:4-Paste the code given below Step:5-Click On "Save Theme" Choose your style: 1.HTML Code For This Style Click Here 2.HTML Code For This Style Click Here 3.HTML Code For This Style Click Here 4.HTML Code For This Style Click Here 5.HTML Code For This Style Click Here Note:- Change The No. Of Post Per Page As You Wish By Changing The Value Of:- var perPage=_; var numPages=_;

How To Remove "POWERED BY BLOGGER" In Blogger

Image
In this article, I will be demonstrating how to remove or hide attribution widget ‘Powered by Blogger’ in footer of blogspot blogs. Before going to the process,  backup your blogger template , while editing html code if anything goes wrong or template modified design doesn’t work or looks good you can restore from backed up template. Here I have demonstrated you two methods for removing attribution widget. Some blogger templates may not support method 1 then you need to follow method 2 for successfully removing attribution widget. Removing "Attribution Widget" Using Method 1 Step. 1= Select Your Blog In Which You Want To Remove Your Attribution Widget. Step. 2= Click On Theme Section. Step. 3= Click On Edit HTML. Step. 4= Now Click On Jump To Widget On Top. Step. 5= Select Attribution Widget. Step. 6= Change The Value Of Locked To False From True. Step. 7= Click On Save Theme. Step. 8= Click On Layout Section. Step. 9= Click On Edit Under Attribution Widget (Now You Can See A

HTML to XML - Click Here To Parse Your Code From HTML to XML

This free converter is very cool HTML to XML converter. You can convert your HTML codes to XML. How to convert: Step.1- Paste your HTML code in text-box. Step.2- Click on ENCODE button. Step.3- Your code is now ready, Just copy that XML code for your use. ▼▼▼ADD CODE BELOW AND CLICK ON ENCODE BUTTON TO PARSE IT: Encode Reset You can convert your Adsense HTML code into XML to use it in your blogger or websites prepared by XML. You can convert your Amazon Widget's HTML code into XML to use it in blogger. This converter is very useful for bloggers, as they can convert any Ad Code from HTML to XML and they can use it in their blogs freely. This service is full free for any user from any country, they can use it freely.